Create the new shared mailbox within the Admin console.
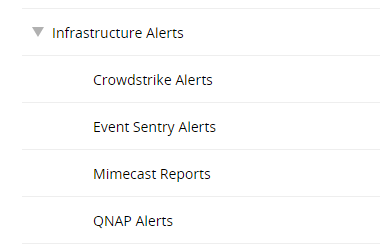
Within ServiceDesk, create the category that will be used for categorization of tickets.
Categories
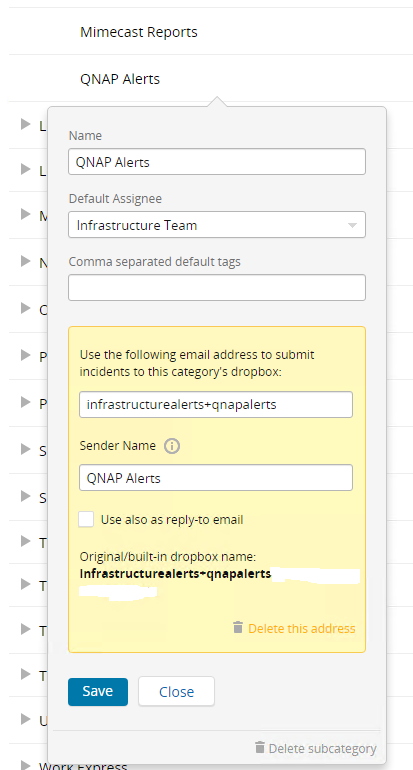
Once the category is created, click the pencil icon to edit it and create an Email Dropbox. Copy the email address in here for later and click the save button.
Email Dropbox
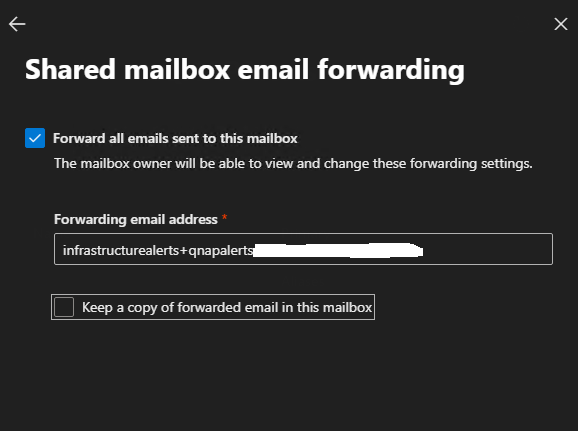
Go back to the Admin Console, click the mailbox you created in step 1, click edit on the Email Forwarding edit button, check the box to enable forwarding, and paste the email address you received from step 3. Make sure to also unceck Keep a copy of forwarded email in this mailbox unless you want to still receive emails in this shared mailbox for testing.
Email Forwarding
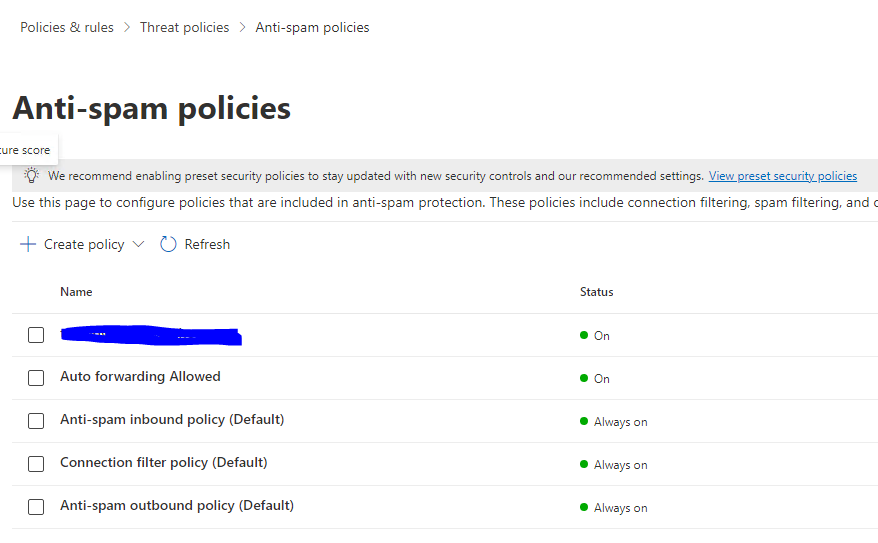
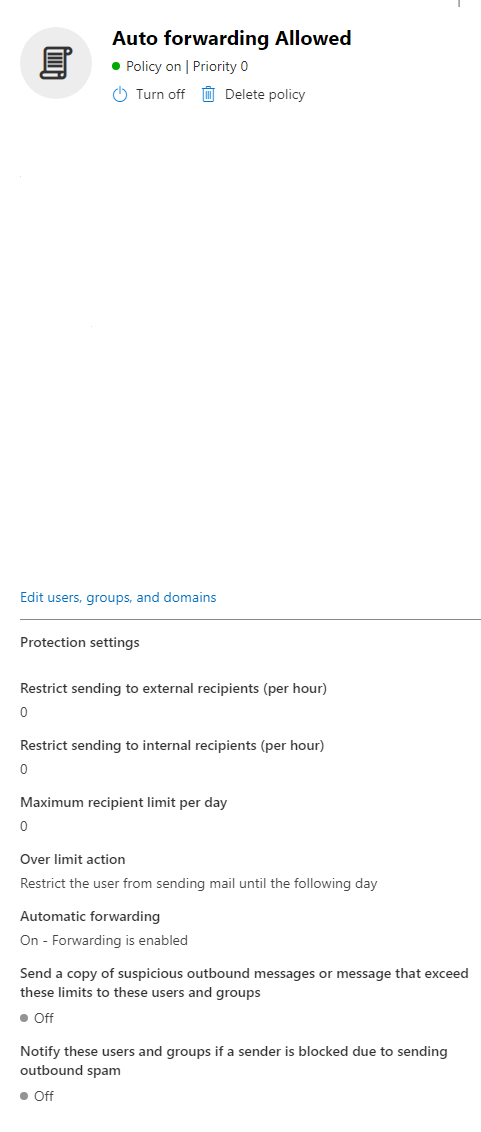
From here, go to the Security Portal, click Policies & Rules, Threat Policies, Anti-Spam Policies, and click the rule called Auto Forwarding Allowed.
Anti-Spam Policies
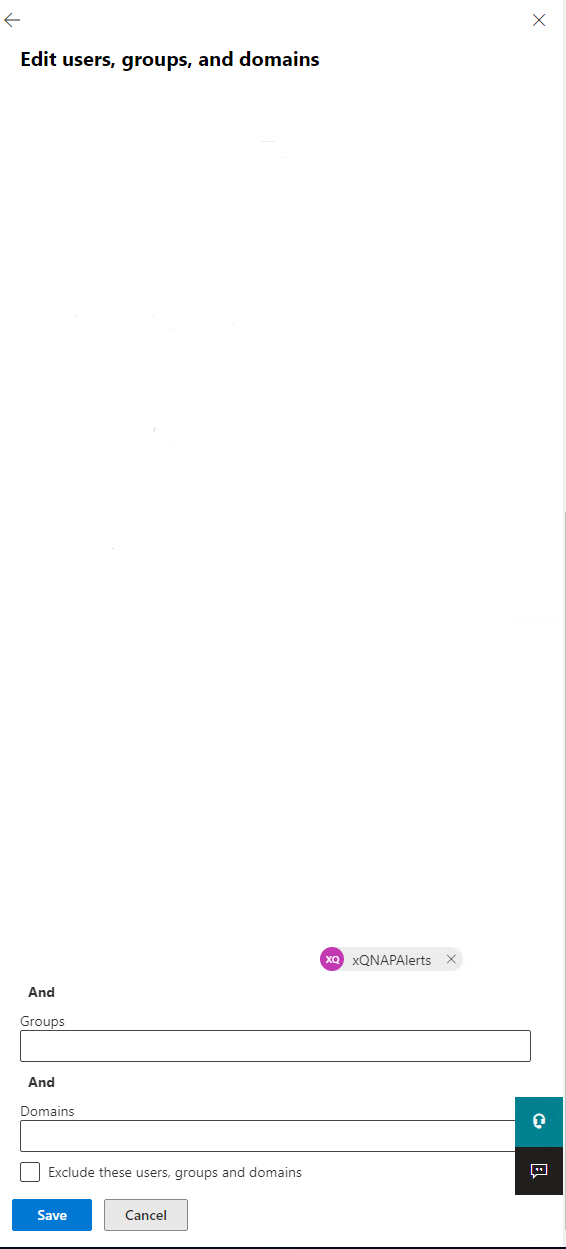
Once inside the rule labeled Auto Forwarding Allowed, scroll to the bottom to find the link for Edit users, groups, and domains, and click this.
Auto Forwarding Allowed
Within this menu, click on the Users field, and enter the email address for the shared mailbox that was created in step 1. Once you've verified the email address is at the bottom of the list, click the save button.
Edit Users
Test your alerts to make sure they work. If they do, a ticket should be generated in ServiceDesk under the category you assigned it.
No comments to display
No comments to display