Create Recovery Partition
#1. Create Recovery Partition Manually
First, verify there is no recovery partition.
- Open Disk Manager by right clicking the start menu, and choosing
Disk Manager. - Verify you don't already have a recovery partition created. They will typically be under 1GB and next to the health status will be labeled
(Recovery Partition). If there is one created, follow these instructions to delete the partition.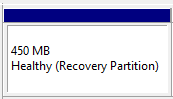

#2. Create/Delete Recovery Partition while Creating Recovery Drive
There is another way to help you delete the partition. This trick appears during the process of creating a USB recovery drive.
- Click “Search” icon, and enter
recovery drivein the search box, and then selectCreate a recovery drive.
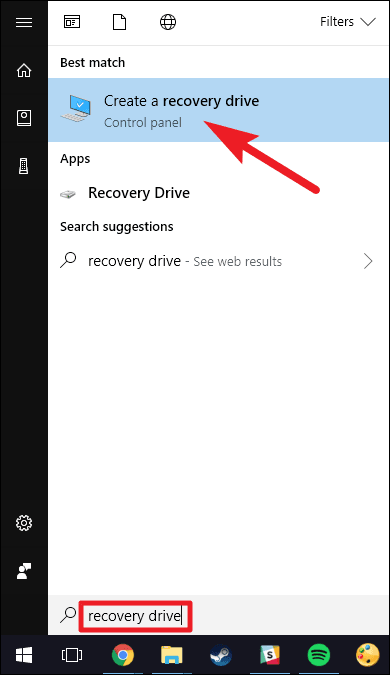
Depending on your version of Windows, it may be listed as simply "Recovery Drive".
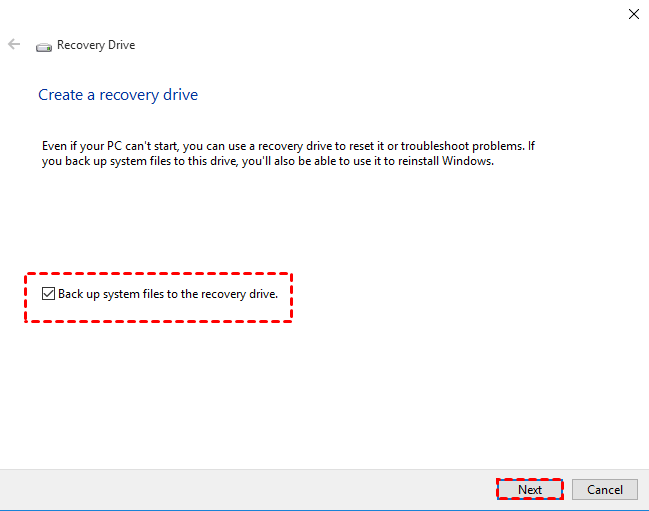
- After the recovery drive tool opens, make sure the “Back up system files to the recovery drive” is selected, and then select Next.
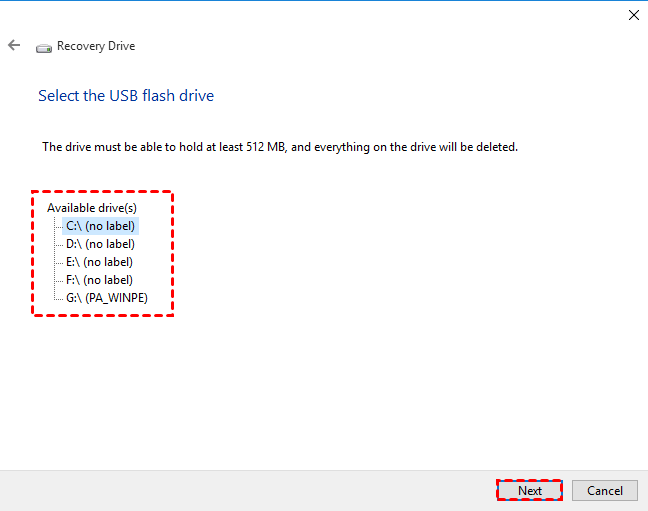
- Insert a USB flash drive into your PC that's at least as large as the size indicated on the screen. Select the USB flash drive connected you connected and click “Next” to continue.
- Click “Create” to begin creating the recovery drive.
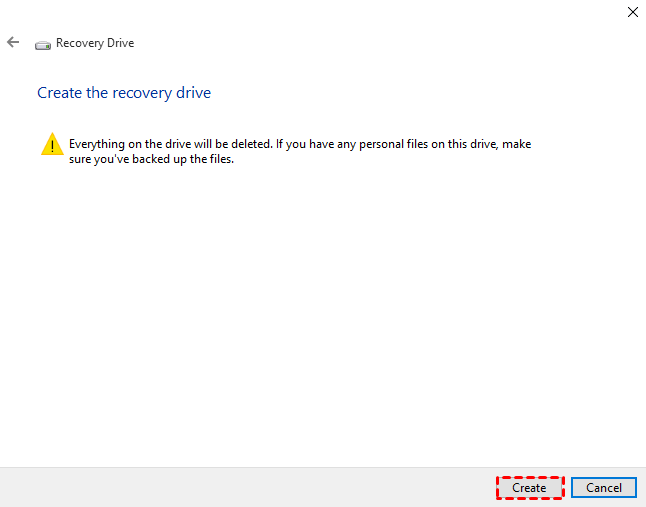
- When the process is done, do not select Finish. Select Delete the recovery partition to remove the recovery partition from your PC and free up disk space. Then click on Delete. This will free up the disk space used to store your recovery image. When the removal is done, select Finish.
Note✍: Some PCs do not provide an option to delete the recovery partition. If you encounter this situation, it means that your PC does not have a recovery partition that uses additional disk space.