|  |
|---|
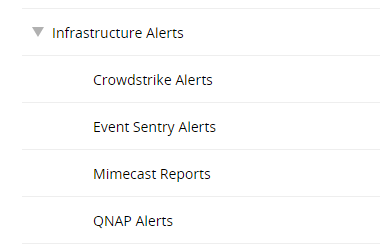
| *Categories* |
|  |
|---|
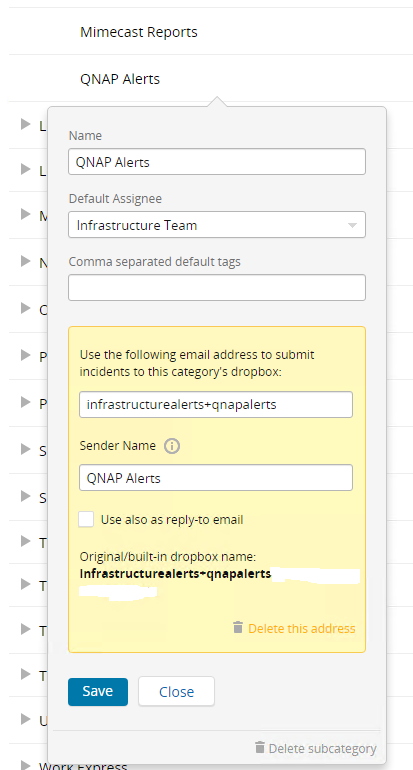
| *Email Dropbox* |
|  |
|---|
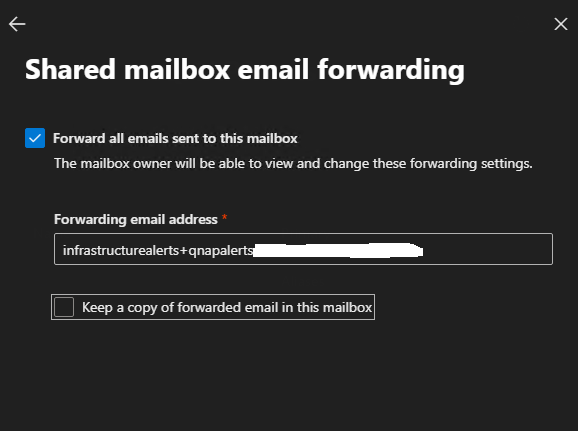
| *Email Forwarding* |
|  |
|---|
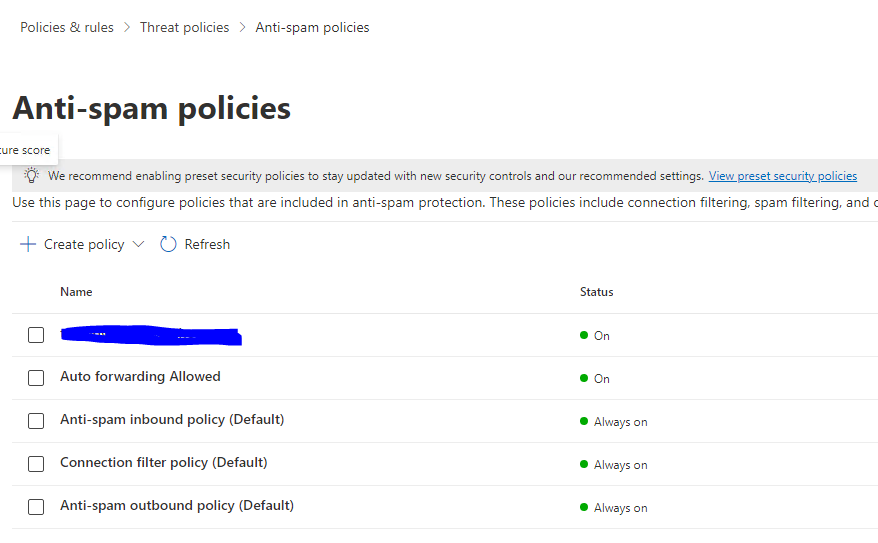
| *Anti-Spam Policies* |
|  |
|---|
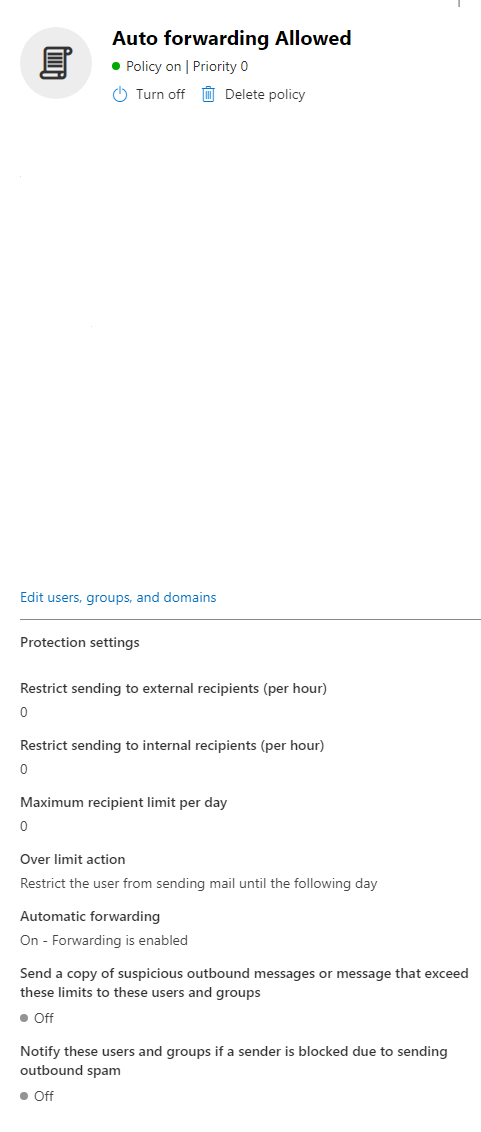
| *Auto Forwarding Allowed* |
|  |
|---|
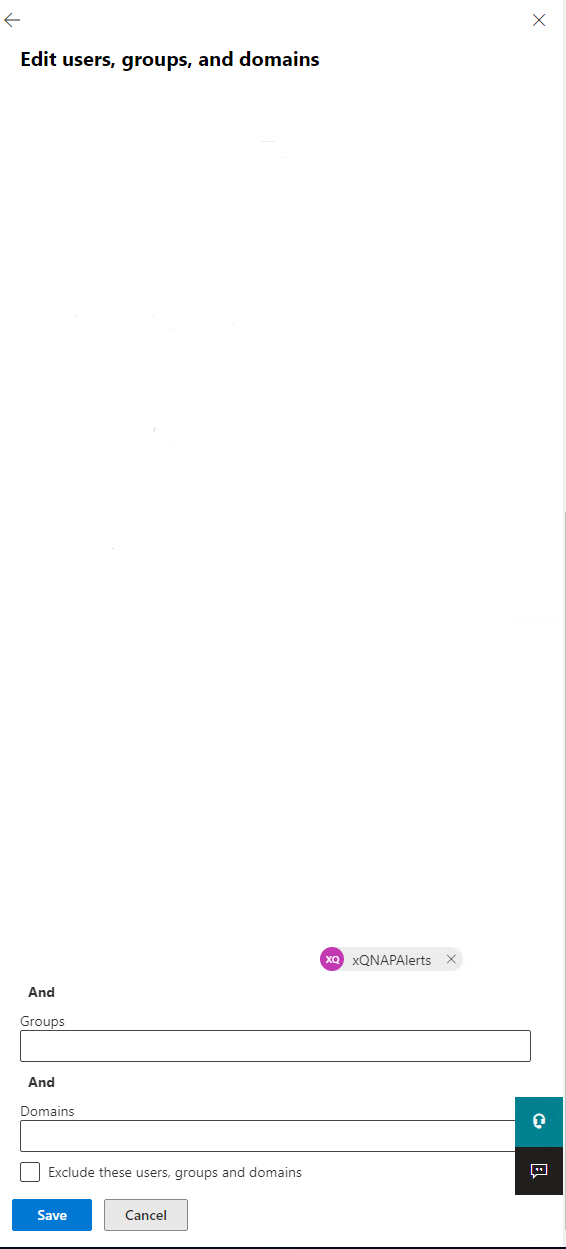
| *Edit Users* |